
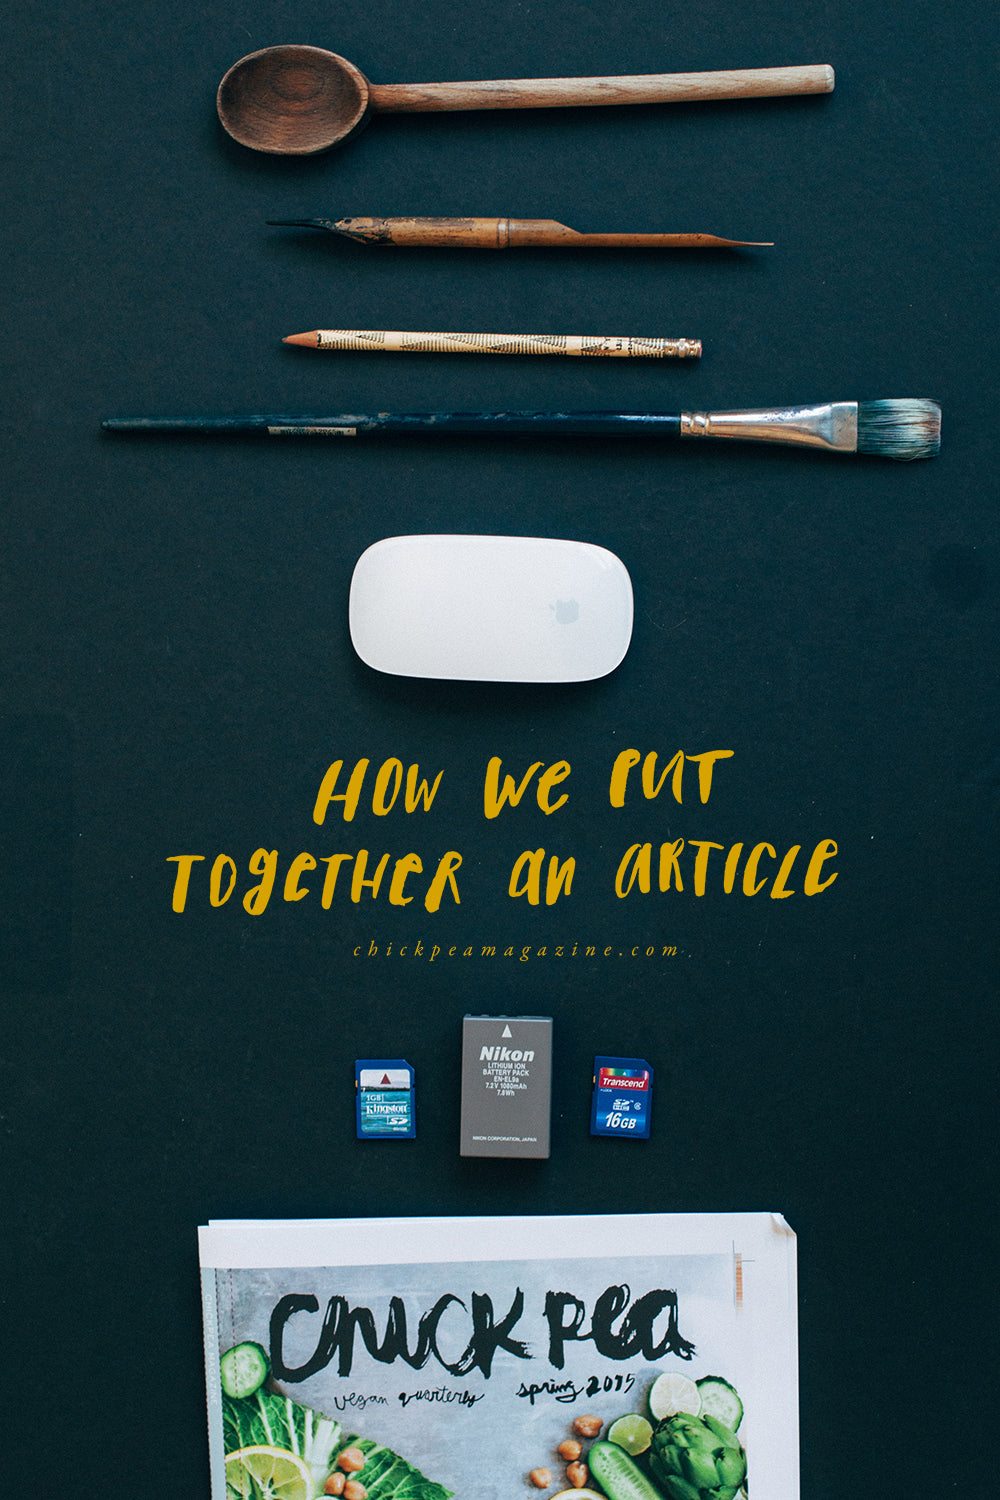
I thought it would be fun today to show you guys how we put together an article for each issue. The final product might look like it was easily done, but there is an immense amount of work that goes into each one.
The very first thing that happens is that people (anyone!) send us proposals for articles. We look them all over, decide which fits best in which issue, and contact them with their deadline and any other info they need. Some people send us an article and photography, or an article and illustrations, or just text and we complete the work or hire an illustrator to work on it. No matter which way, they send us their work and here's where it goes from there!
1. Edit the text. This is just the first of many rounds of text editing. (Though there's always still little mistakes that make it through!)
2. Sketch & brainstorm. After I get a feel for what an article is all about, I'll sketch out the layout and think of how I want it to look and flow in the end.
3. Put together a shopping list & get what we need. In most issues, we end up going grocery shopping almost every day. This ensures that the ingredients will be fresh and beautiful for photographing. This is probably the most complex part, organization-wise, because we try to do many testings and shoots in a single day and some food can go bad quickly. Prop-hunting, on the other hand, is probably the most fun part!
4. Recipe test. We don't often print things out at our office, but we do print out the recipes we test in our kitchen. Writing edits and potential changes to recipes is so much easier when I can jot it down. Sometimes this can be a long process, depending on how clearly the recipe is written. We try to boil down the language of recipes to the simplest sentences while still giving lots of detailed instruction.
5. Styling, shooting, and photo-editing. I try to move as quickly as possible during a shoot, and try many different variations on my ideas to give myself more breathing room later during the actual design. For some issues, I've gone through many full cover shoots before landing on my final decision. In the end, it makes a huge impact.
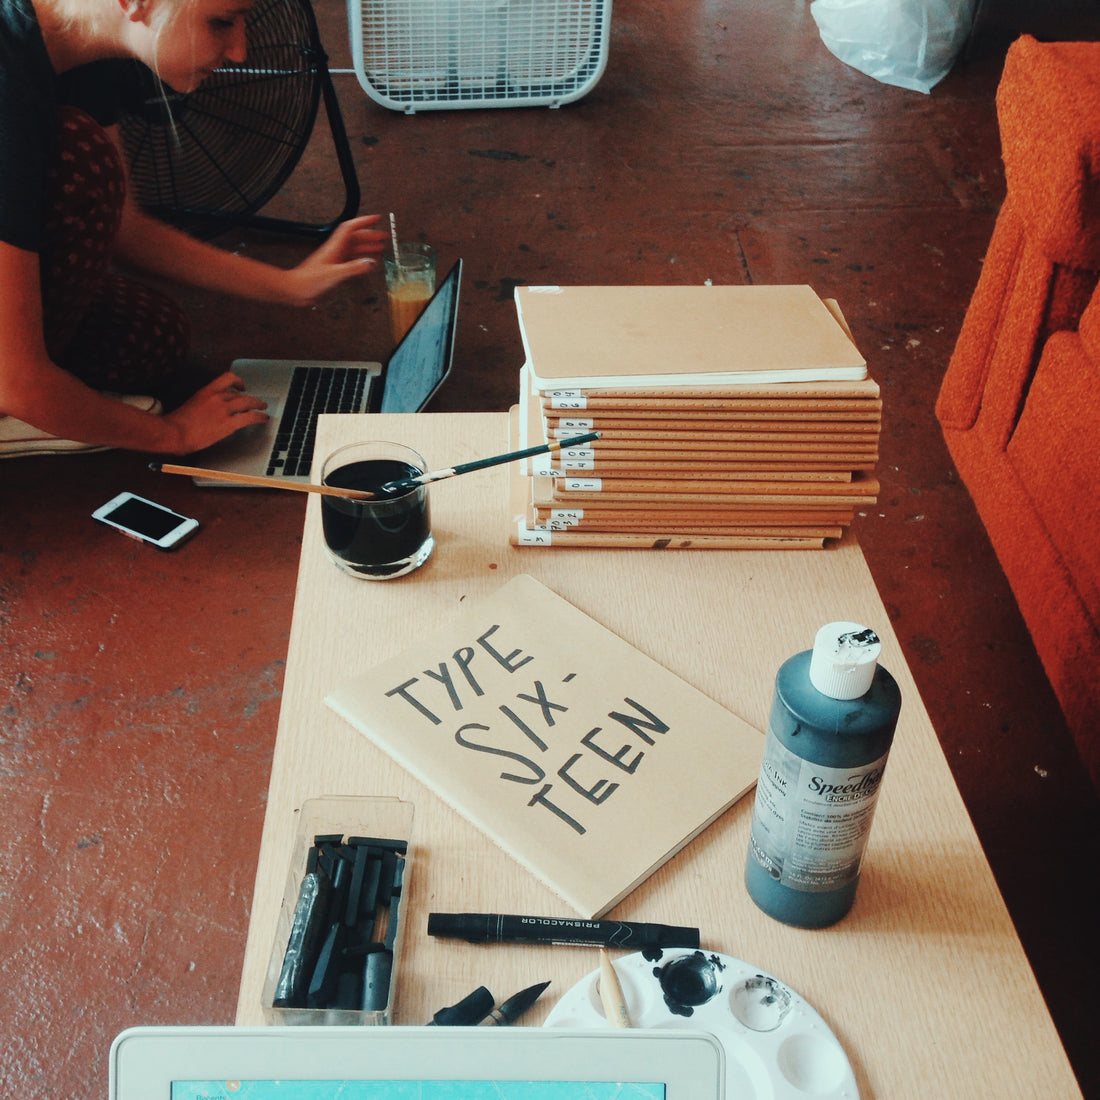
6. Lettering, scanning, and editing. I'll usually take a weekend to spread out on the couch, marathon some Netflix, and fill up a whole sketchbook in one go. For the spring issue, I actually did fill up a whole sketchbook and used up a watercolor block, too. Scanning and editing is a long and tedious process, to get everything cleaned up, set in a composition, and placed in the issue design.
7. Design. The longest part of putting together a feature is designing it in InDesign. I experiment with different layouts, see how well it fits with other features, and change it as needed, as I finish the rest of the issue.
8. Edit. Once I have everything set, I go through and read it cover-to-cover to look for any more errors that weren't caught in the first rounds of edits. Then I send everything to our contributors to look over.
9. Edit (with the contributor). Once they get their edits to me, I go through once again and check for any discrepancies.
10. Check in print & digital for errors. I test the final copy on my tablet and phone and once it's ready, put it up online for pre-order. By this time, we get the print proof and I make color & text edits for the printing press to change before giving it my final approval. The issue goes to print and we start work on shipping preparations. By this point, we call it done!
If you'd like to contribute to our next issue, fill out our proposal form. Or see completed issues right here. :)